
Even minor collisions can cause hidden damage to your bumper cover, requiring professional inspection and potential replacement. Over time, UV exposure and weather weaken the cover, leading to cracks and fading. This guide offers a step-by-step process for DIY bumper cover replacement, emphasizing safety protocols, proper alignment, and secure installation to maintain vehicle protection and aesthetic appeal.
After a minor collision, your car’s bumper cover might show signs of damage, such as dents or cracks. While some owners might consider it cosmetic, replacing the bumper cover is essential for several reasons. Not only does it restore your vehicle’s aesthetic appeal, but a new cover can also enhance safety by maintaining the integrity of the vehicle’s front-end structure. This comprehensive guide will walk you through the process of effectively replacing your damaged bumper cover.
- Understanding Bumper Damage After Minor Collisions
- Why Replace a Bumper Cover?
- Step-by-Step Guide to Bumper Cover Replacement
Understanding Bumper Damage After Minor Collisions
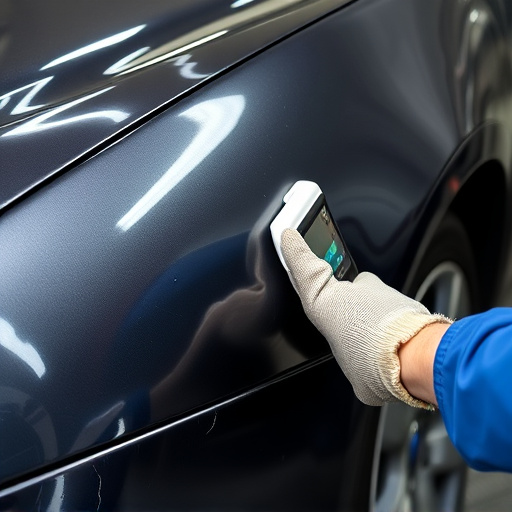
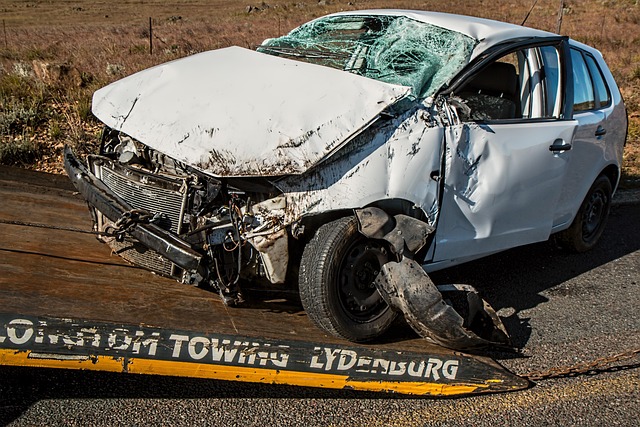
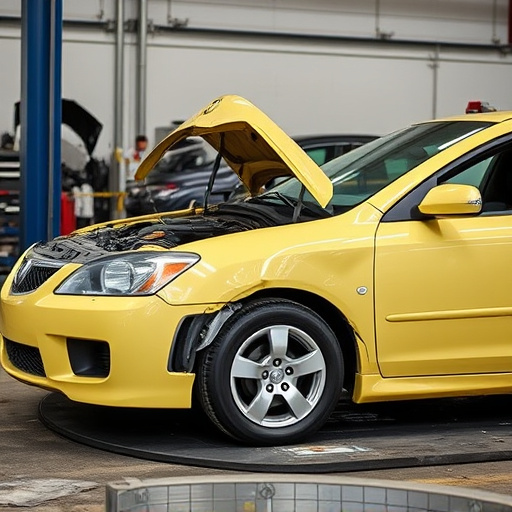
After a minor collision, it’s crucial to understand that even though your vehicle may appear visually unharmed, damage to the bumper cover can be more subtle and significant. The bumper, designed to absorb impact energy during collisions, often bears the brunt of the force. While some dents or dings might be immediately visible, other types of damage can go unnoticed. Cracks, fractures, or separation from the vehicle’s chassis are common issues that require professional attention.
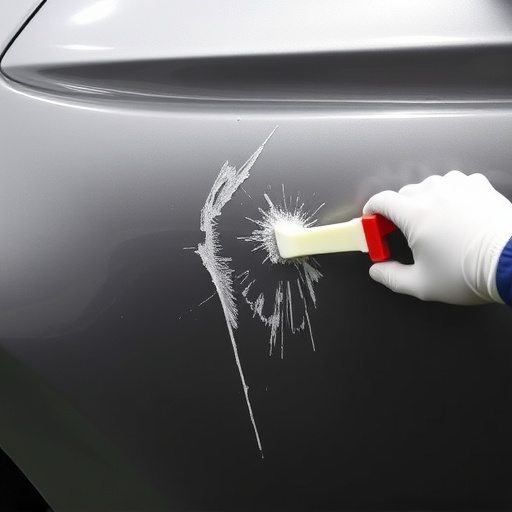
A simple bump can lead to misaligned panels, damaged support structures, or even compromised car paint repair. That’s why it’s essential to have a thorough inspection by a qualified vehicle body shop. They possess the expertise and tools for auto body repairs needed to accurately diagnose the extent of the bumper damage. Promptly addressing these issues through a bumper cover replacement ensures optimal safety, aesthetic appeal, and preservation of your vehicle’s value.
Why Replace a Bumper Cover?
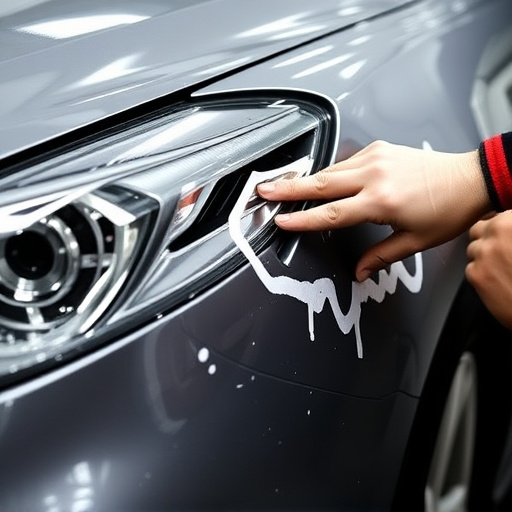
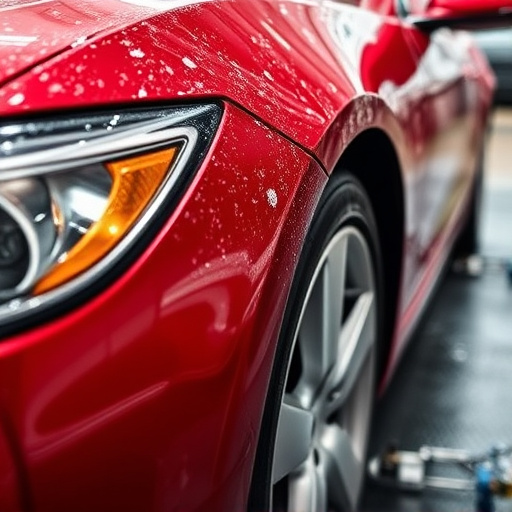
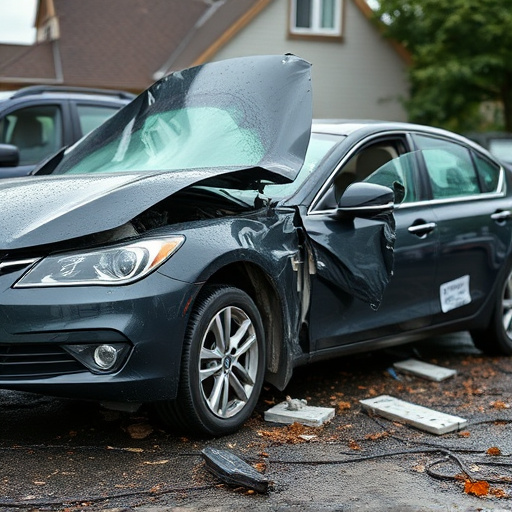
A bumper cover replacement may seem like an insignificant fix compared to more serious auto body repairs, but it plays a crucial role in your vehicle’s overall safety and aesthetics. While minor collisions may not leave noticeable dents or cracks in the bumper itself, they can damage the protective covering. This cover isn’t just about appearances; it helps absorb impact energy during a collision, safeguarding the vehicle’s front end from more severe damage.
Over time, even with no direct hits, the bumper cover can weaken due to exposure to elements like UV rays and harsh weather conditions. It may start showing signs of wear and tear, such as cracks, fading, or loose fittings. Promptly addressing these issues is key in preventing further deterioration. A simple bumper cover replacement not only restores your vehicle’s aesthetic appeal but also ensures it remains better protected against future hail damage repair or vehicle collision repair needs.
Step-by-Step Guide to Bumper Cover Replacement
Replacing a bumper cover after a minor collision is a relatively straightforward process that most car owners can handle with some basic tools and knowledge. Here’s a step-by-step guide to help you through it:
1. Safety First: Ensure your vehicle is stable and secure before beginning the process. Engage the parking brake, jack up the car, and use wheel chocks for safety. This is especially important if your car has experienced any frame straightening due to the collision.
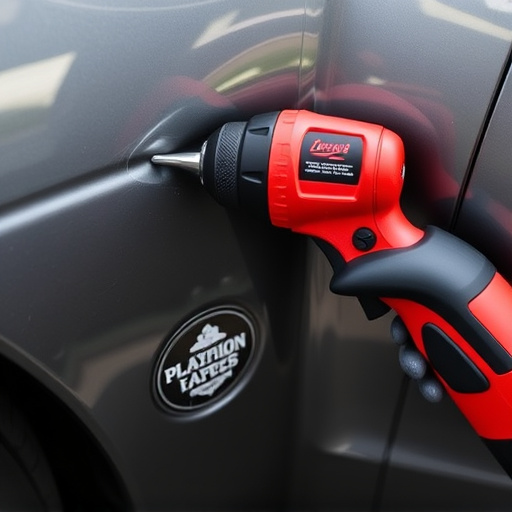
2. Remove the Old Bumper Cover: Start by locating all the screws or bolts securing the bumper cover in place. These are usually found along the edges of the cover. Use a screwdriver or ratchet and socket set, depending on your vehicle’s make and model, to unscrew them. Once the screws are removed, carefully pry off the old bumper cover. Take note of how it was installed, as this can help when reinstalling.
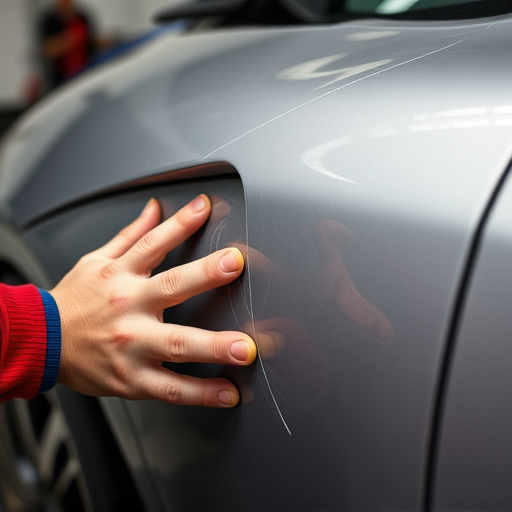
3. Inspect the Underlying Components: Before replacing the cover, inspect the underlying components—including any brackets, supports, or sensors—for damage. A car collision repair might not always be evident at first glance, so take your time and ensure everything is in order.
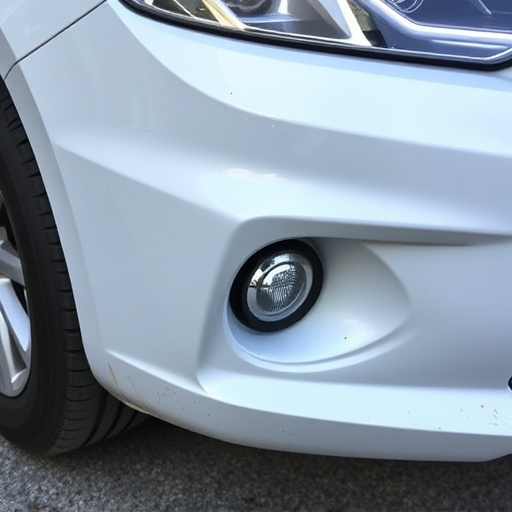
4. Install the New Bumper Cover: Align the new bumper cover with the existing mounting points on your vehicle. Make sure it’s positioned correctly before securing it with the screws or bolts you removed earlier. Tighten them securely but avoid over-tightening to prevent damage to the plastic.
5. Final Checks: Once the new bumper cover is in place, lower the car from the jack and remove the wheel chocks. Test all functions related to the bumper, such as sensors and lights, to ensure they’re working properly. If everything looks good, you’ve successfully replaced your bumper cover after a minor collision.
After minor collisions, it’s crucial to understand that even seemingly small bumps can cause significant damage to your vehicle’s bumper cover. While temporary fixes may work initially, a complete bumper cover replacement is often necessary for both aesthetic restoration and long-term protection against further corrosion or damage. By following the step-by-step guide provided, you can ensure a smooth and effective bumper cover replacement process, restoring your vehicle’s safety features and maintaining its overall value.