
A successful bumper cover replacement requires understanding the removal process and using proper tools for disassembly, safety, and aesthetics. This includes gathering hand tools, impact wrenches, safety gear, and parking the vehicle on a level surface with tires chocked. Meticulous preparation ensures efficient installation, safe handling of debris and hardware, and potential follow-up repairs like auto glass or car body restoration.
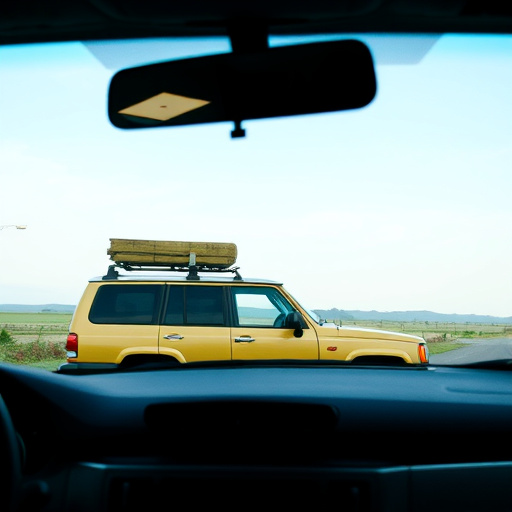
Looking to refresh your vehicle’s exterior? Bumper cover replacement is a straightforward process that can enhance your car’s appearance. This guide breaks down the removal of old hardware and provides a step-by-step approach to safely replacing your bumper cover. Armed with the right tools and our expert instructions, you’ll be back on the road in no time, enjoying a like-new look. From understanding the removal process to ensuring a secure fit, we’ve got you covered for a successful bumper cover replacement.
- Understanding Bumper Cover Removal Process
- Tools Required for Efficient Removal
- Steps to Replace Your Bumper Cover Safely
Understanding Bumper Cover Removal Process
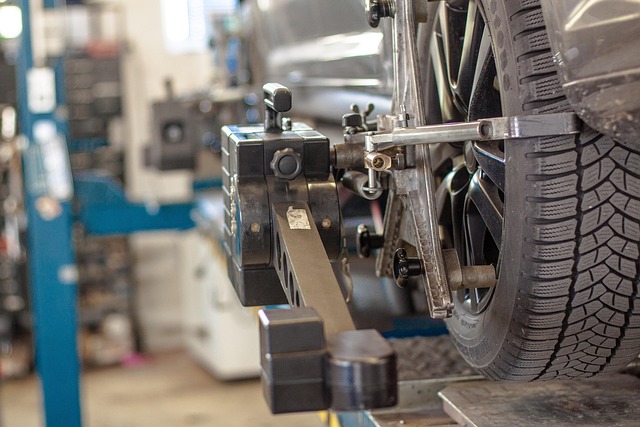
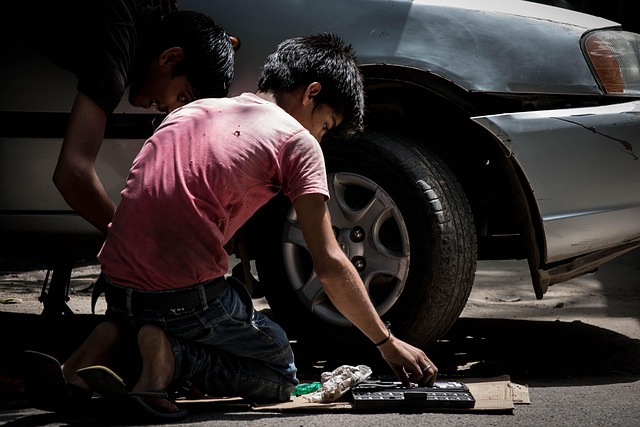
When undertaking a bumper cover replacement, understanding the removal process is key. It involves careful disassembly of the old bumper to ensure efficient installation of the new one. This often requires the removal of hardware such as screws and brackets that secure the bumper in place. Auto collision centers or experienced mechanics perform this task with precision, knowing the specific tools and techniques needed for different vehicle models.
The process starts by identifying and removing all visible hardware. Then, depending on the vehicle’s design, specialized tools might be used to release the bumper from underlying components. This step is crucial in auto maintenance as it ensures a seamless fit of the new bumper cover, enhancing the overall look and safety of the vehicle’s bodywork.
Tools Required for Efficient Removal
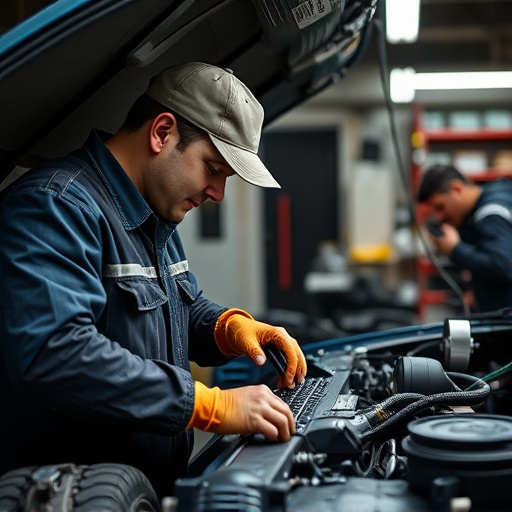
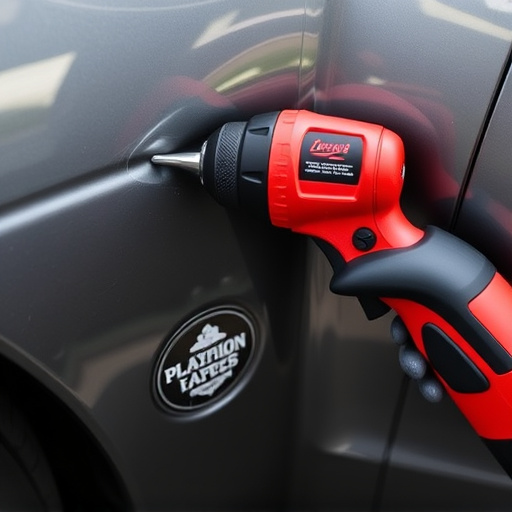
When it comes to a successful bumper cover replacement, having the right tools is key. For an efficient removal process, you’ll need a variety of specialized equipment. Start with basic hand tools like a screwdriver and pliers, which are essential for securing and unscrewing any visible hardware. Additionally, consider investing in an impact wrench or socket set to tackle tougher bolts and nuts that might be stubbornly attached due to rust or corrosion—a common occurrence after a vehicle collision repair.
Don’t underestimate the importance of protection during this process. Safety goggles are a must to shield your eyes from flying debris, while work gloves will protect your hands from nicks and cuts. A dust mask is also beneficial, especially when dealing with older vehicles that may have outdated or flaking hardware coatings. Remember, proper tools and safety gear make the bumper cover replacement task smoother, safer, and more efficient—an aspect crucial to maintaining the vehicle’s aesthetic appeal and overall collision repair quality.
Steps to Replace Your Bumper Cover Safely
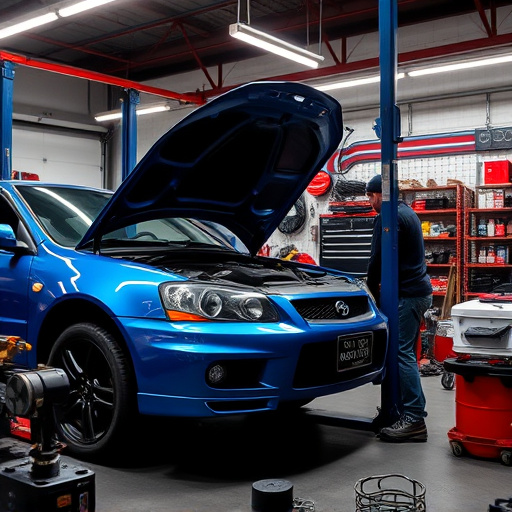
Replacing your bumper cover is a relatively straightforward process but requires caution to ensure safety and avoid damaging other components. Start by preparing your workspace; park your vehicle on a level surface, engage the parking brake, and place wheel chocks behind the tires for stability. Gather all necessary tools, including new hardware specific to your bumper cover model.
Next, carefully remove any visible debris or dirt from the area. Using appropriate safety gear like gloves, protect yourself from sharp edges as you loosen the old hardware. This might involve removing screws, bolts, or clips securing the bumper in place. Once the old bumper is free, inspect the vehicle’s underbody and adjacent components to ensure nothing is damaged or affected by the removal process. This step is crucial for seamless auto glass repair or car body restoration if any related parts have been compromised during the bumper cover replacement.
Bumper cover replacement involves a straightforward process that any car enthusiast can handle. By understanding the removal and installation steps, you can efficiently swap out your old or damaged bumper cover, enhancing your vehicle’s aesthetics. With the right tools and safety precautions, this DIY project ensures a smooth and cost-effective solution for those seeking to refresh their car’s exterior. Remember, a well-maintained bumper cover contributes to your vehicle’s overall appearance and safety, making it a worthwhile task for any dedicated car owner.