

Bumper covers, available in plastic, fiberglass, and steel, offer aesthetic and protective benefits. Replacement involves removing old bumpers, preparing a safe workspace, measuring accurately, and securing new covers with recommended hardware for optimal alignment and protection against everyday driving hazards.
Considering a bumper cover replacement? This comprehensive guide breaks down the process, helping you understand different bumper cover types and materials. We’ll walk you through removing old bumpers step-by-step, then provide expert tips for installing new ones. From selecting the right fit to ensuring proper alignment, learn best practices for a successful bumper cover replacement that enhances your vehicle’s aesthetics and protection.
- Understanding Bumper Covers: Types and Materials
- Step-by-Step Guide to Removing Old Bumpers
- Installing New Bumper Covers: Tips and Best Practices
Understanding Bumper Covers: Types and Materials
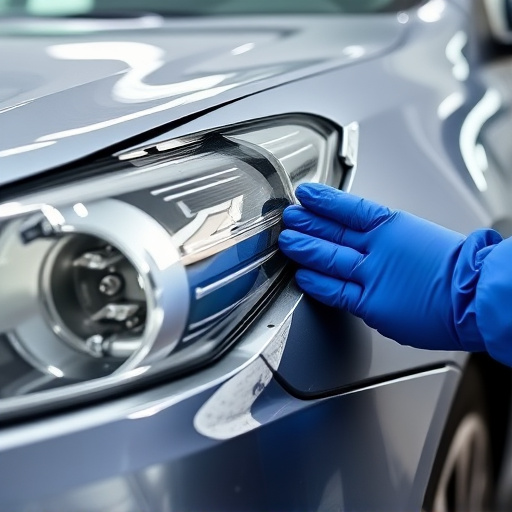
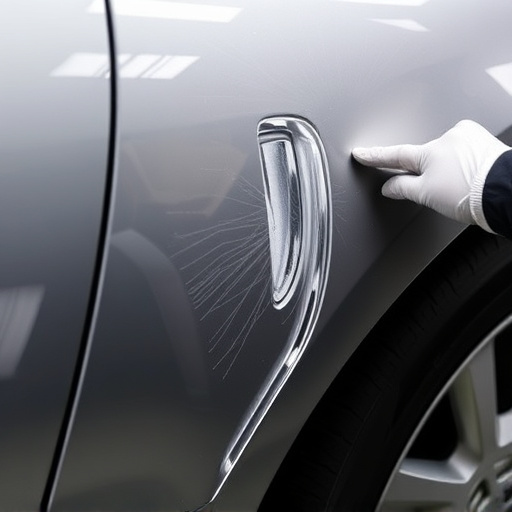
Bumper covers, also known as bumper protectors or front guards, are an essential component of a vehicle’s exterior and play a crucial role in both aesthetics and safety. They come in various types and materials, each serving different purposes. The primary function of these covers is to protect the front and rear bumpers from minor damages caused by everyday driving, such as parking bumps, potholes, and small debris.
Commonly used materials include plastic, fiberglass, and steel. Plastic bumper covers are lightweight, affordable, and easy to install, making them a popular choice for those seeking a simple bumper cover replacement. Fiberglass offers enhanced durability and can be molded into intricate designs, ideal for those looking to personalize their vehicle’s appearance. Steel, known for its strength and resilience, is often used in more rugged or performance-oriented vehicles, providing excellent protection against severe impacts. When considering a bumper cover replacement, understanding these materials and their unique attributes will help ensure the best fit and functionality for your vehicle’s bodywork and overall autobody repairs.
Step-by-Step Guide to Removing Old Bumpers
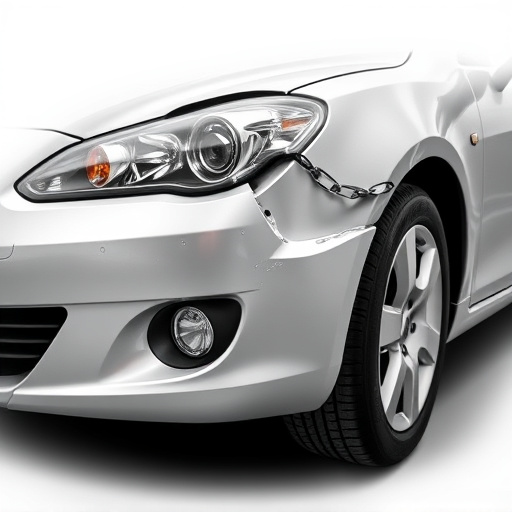
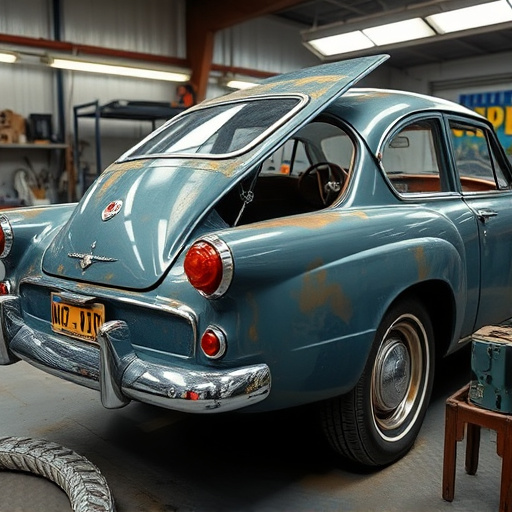
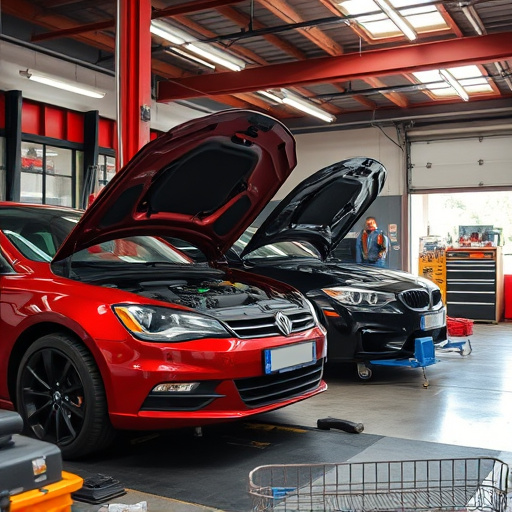
Removing old bumpers is a crucial step in any bumper cover replacement process. Start by ensuring your vehicle is safely secured on jack stands to prevent any movement during the disassembly. Next, locate and disconnect all electrical components attached to the bumpers, such as sensors or lights, using appropriate tools.
With safety precautions in place, begin demounting the old bumpers. This often involves removing screws, bolts, or clips securing them to the vehicle. Be methodical and take note of how each component is connected for easier reassembly later. Once detached, carefully lift off the damaged or outdated bumper covers. In case of severe damage from a vehicle collision repair or car scratch repair, this might require some persistence and the use of specialized tools. Remember, proper auto repair services always prioritize safety and meticulousness during this process.
Installing New Bumper Covers: Tips and Best Practices
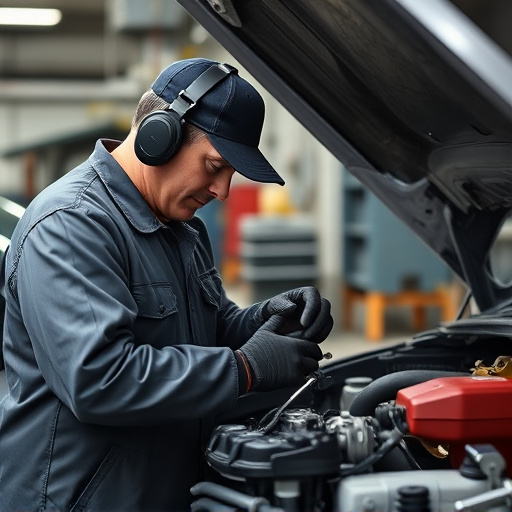
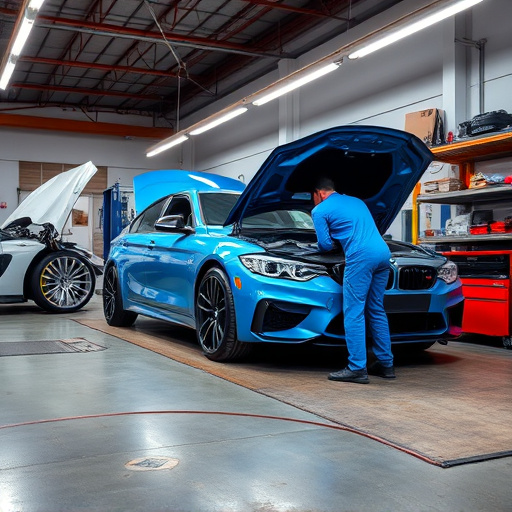
When installing new bumper covers as part of a bumper cover replacement, it’s crucial to adhere to best practices for seamless integration and optimal protection. Begin by ensuring your workspace is clean and well-lit, with all necessary tools readily available. This includes a jack, jack stands, and any specialized equipment recommended by the manufacturer. Before attachment, double-check that the new covers are properly aligned and fitted, matching the exact specifications of the original parts. A slight misalignment can compromise the bumper’s structural integrity and aesthetic appeal.
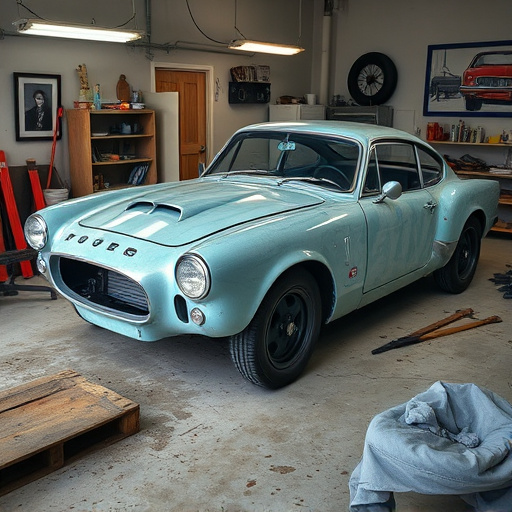
For fleet repair services or collision damage repair, precise measurements and adjustments are paramount. Consider the new bumper cover as an integral part of your car’s restoration, aligning it perfectly with the vehicle’s design lines. Use markers to outline any adjustment points on the bumper and frame for reference. Once aligned, secure the covers using the provided hardware, tightening them according to the manufacturer’s guidelines. This meticulous approach guarantees a robust connection that enhances both the car’s appearance and its ability to withstand minor collisions or road debris.
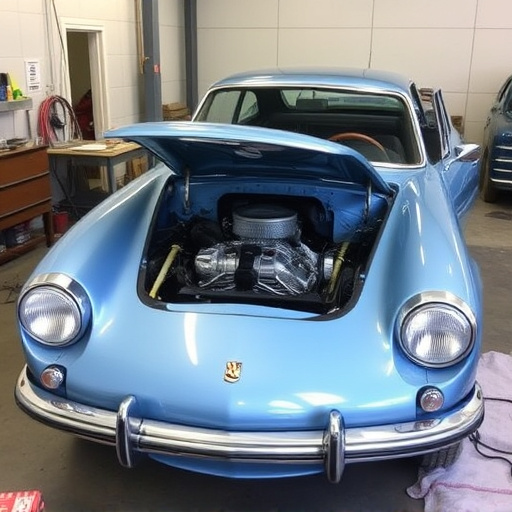
Replacing your vehicle’s bumper covers is an accessible DIY project that can significantly enhance both aesthetics and safety. By understanding different types and materials, following a meticulous removal process, and adhering to best practices for installation, you can achieve a fresh look and ensure optimal protection for your car. With the right tools and this comprehensive guide, tackling a bumper cover replacement becomes a straightforward and rewarding task.